
Walkthroughs and puzzle help
Servant of the Lake How to Get in House: Guide
Direct answer
Take one tin cup from the house window and one from the coach, add them to the three-cup display, sort all five from one stripe to five, take the coin, pay the coachman, collect the iron bar after he leaves, pry up the loose board below the planter, take the key, and turn it in the front-door lock.
- Research updated:
- 2026-08-13
- Evidence scope:
- Supplied research only
What actually opens the house
The front-door key is not inside the coach and the coachman does not give it to you. The real chain is two loose cups, a five-cup sorting puzzle, a coin, the coachman's departure, an iron bar, and a hidden compartment below the planter. You cannot skip directly to the board because the bar only becomes accessible after the coach leaves.
Do not enter 235 at the front door. That number belongs to an interior portrait lock during the later breakfast duty, while the entrance uses a physical key. Follow the eight illustrated actions below in order and use the success signal under each step to see exactly where your progress stopped.
Step 1: finish the arrival and feed the horse
Take the carrot from the planter
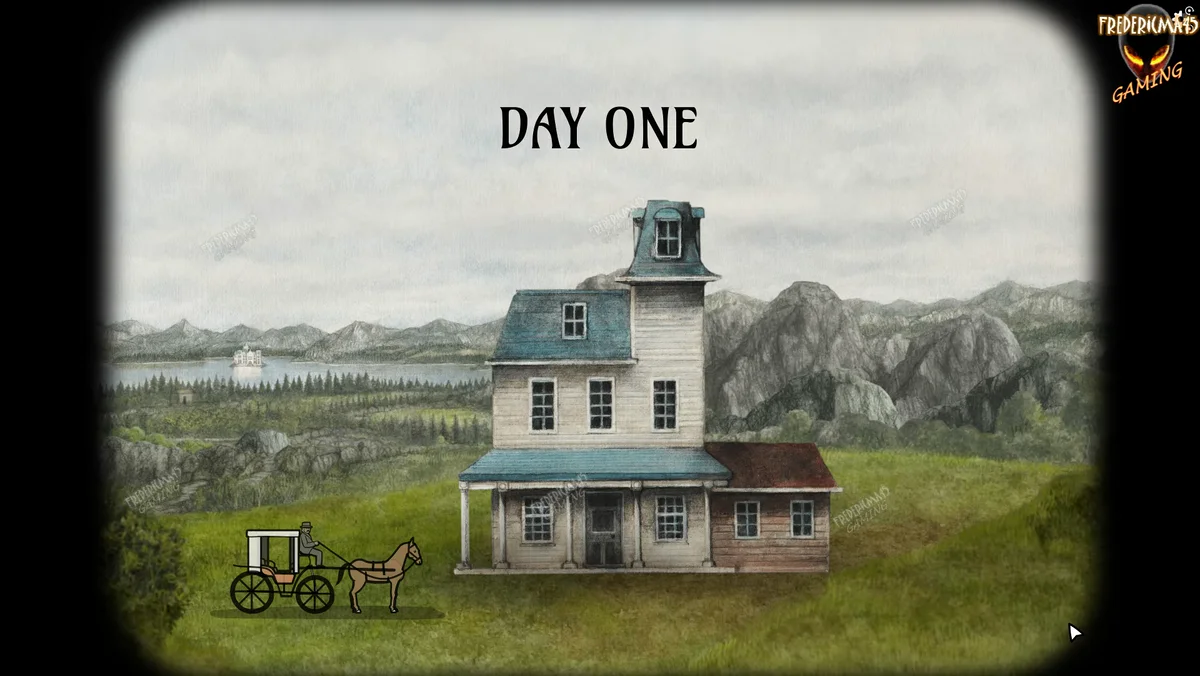
Open the carriage curtains when the driver prompts you, wait for Day One to appear, and exit at the estate. Inspect the long planter under the left window, collect the carrot, and give it to the horse. The horse visibly eats it, and the carrot disappears from the inventory when this opening action is complete.
Feeding the horse does not reveal the key by itself, but it is part of the recorded arrival sequence. If you have already completed it, move on instead of repeatedly clicking the horse. The objects that actually produce the coachman's payment are found in a window and below the coach.
Step 2: collect the window cup
Open the window and click the cup pane
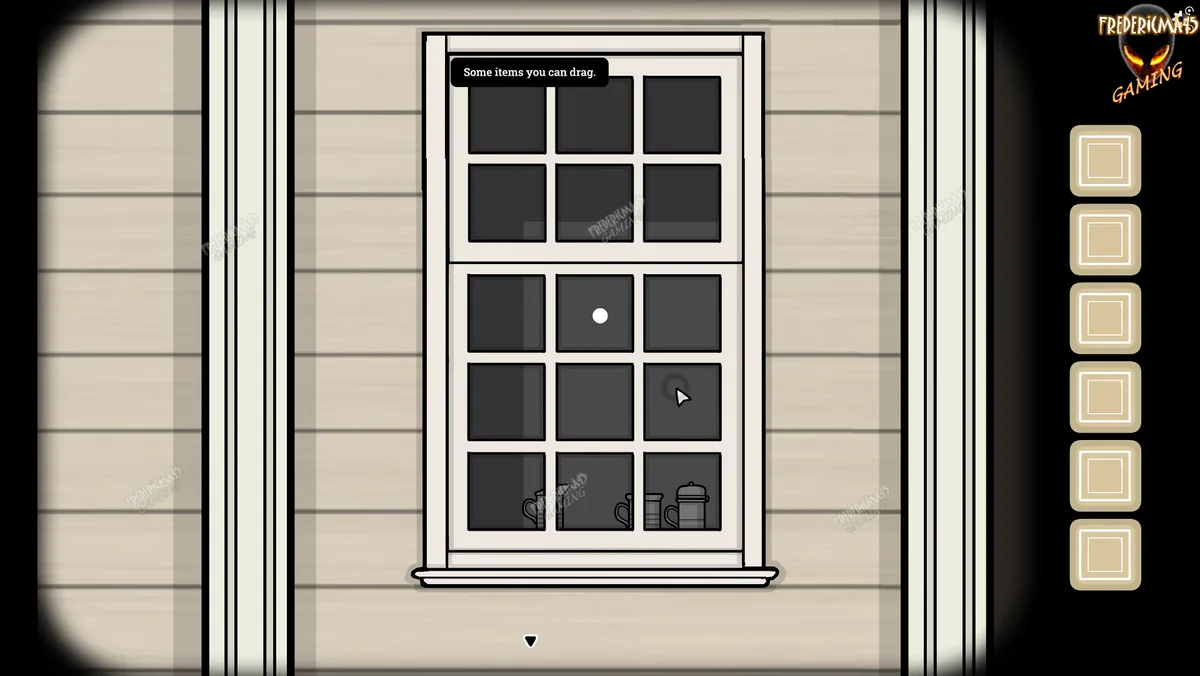
Zoom into the accessible window and examine its grid of dark panes. The first tin cup is drawn inside one of those panes, so click the cup itself rather than the white window frame. Check the inventory column for a cup icon before leaving this close view.
The window contains only one of the two loose cups you need. If you reach the five-cup display with just one inventory cup, return outside and search the lower compartment of the coach. You do not need to solve a code or break the glass.
Step 3: collect the coach cup
Open the compartment below the coach
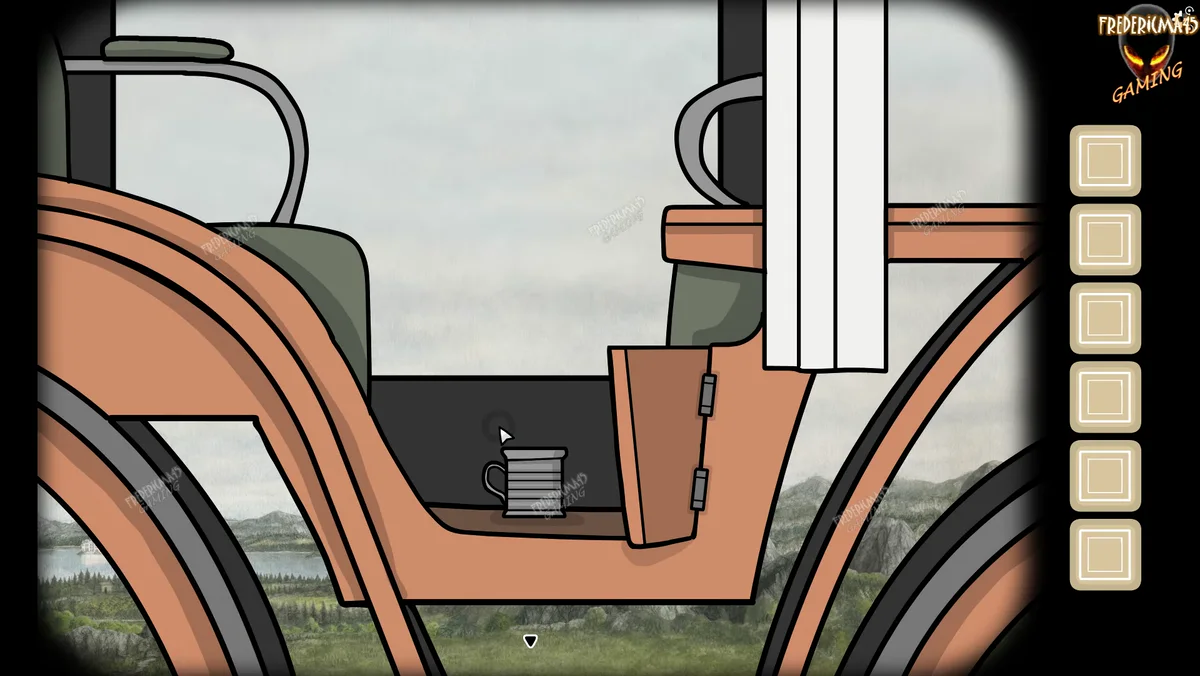
Return to the coach and inspect the storage area below the passenger compartment. Open the small side hatch and pick up the second tin cup shown inside. The correct checkpoint is two cup icons collected from two different scenes, not two clicks on the same window cup.
The coachman may still mention his fee while you search. That is expected because the fee coin does not exist as a loose yard item. Both cups must first be added to the separate display containing three cups.
Step 4: sort the striped cups
Arrange one stripe through five stripes
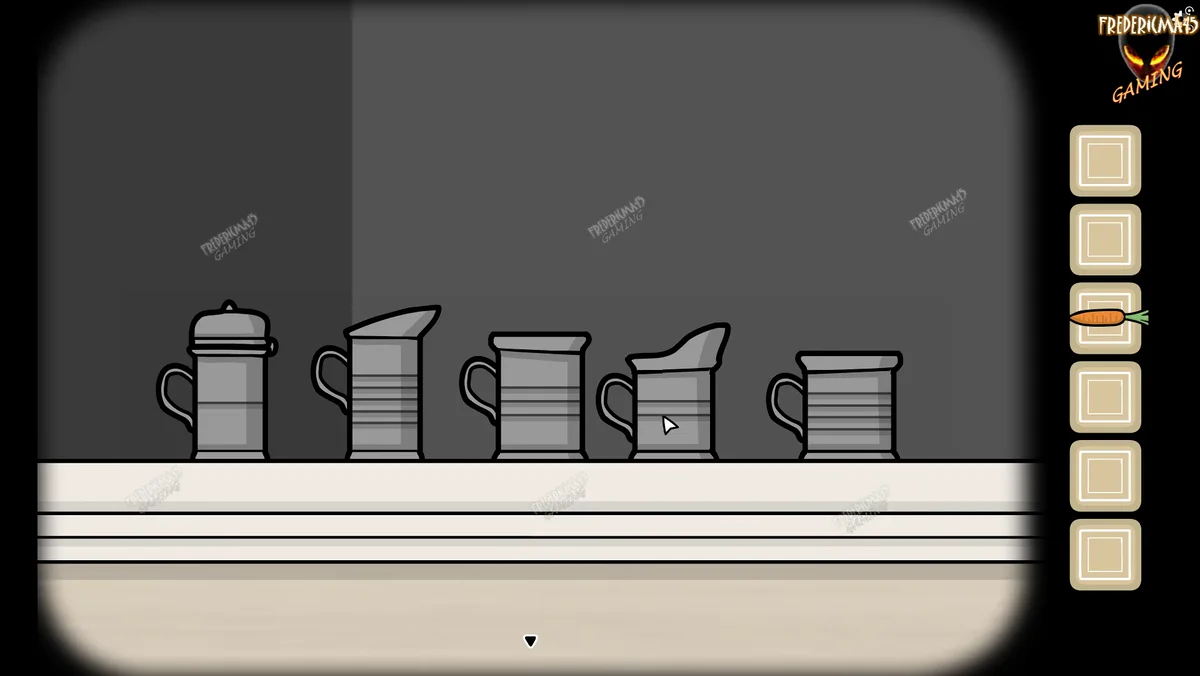
At the other window, place both inventory cups beside the three already on the shelf. Count the horizontal bands on each vessel and drag them into ascending order: one stripe, two stripes, three stripes, four stripes, five stripes. When all five are correct, collect the coin revealed in the leftmost cup.
Cup height and spout shape are distractions; only the number of stripes determines the order. If nothing appears, recount neighboring cups carefully because the middle silhouettes can look similar. The coin must be clicked after the solution, so do not assume it enters the inventory automatically.
Step 5: pay the coachman completely
Give the coin and wait for the coach to leave
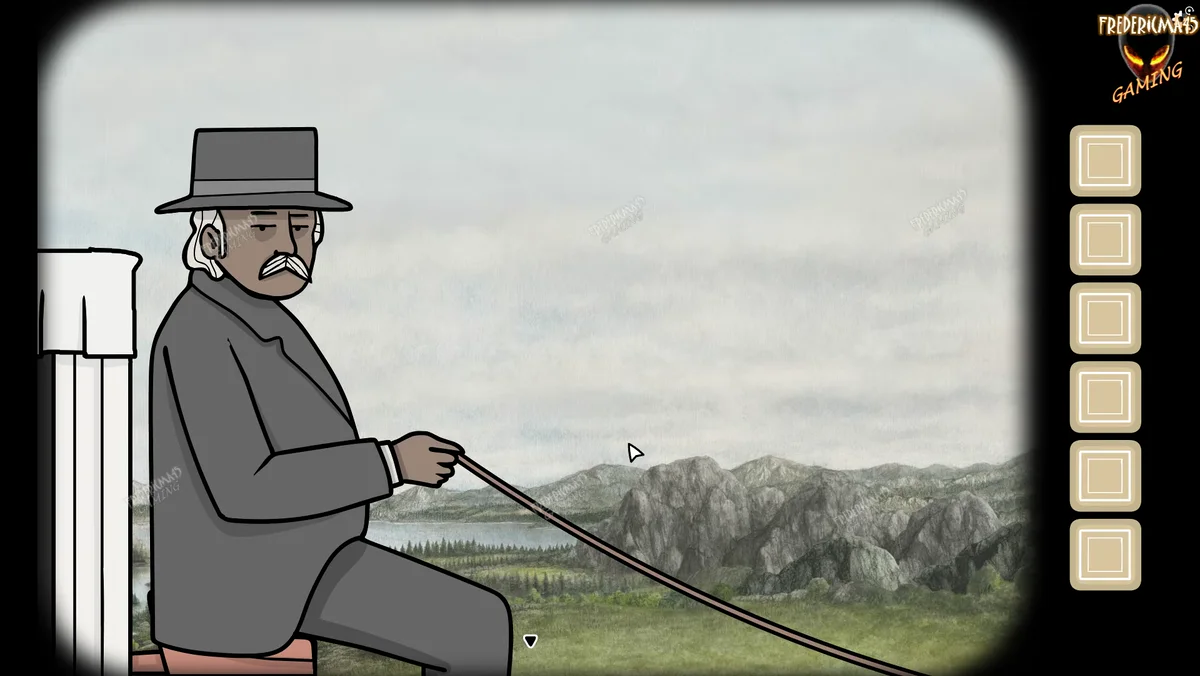
Select the coin and give it to the seated coachman. Continue his dialogue until he says he will return, then let the full departure animation play. The required checkpoint is an empty patch of grass where the coach stood, with a long iron bar now visible on the ground.
If the coach remains in place, the payment event is incomplete. Check that the coin has left the inventory, speak to the coachman again, and finish every line. Searching the planter before the coach leaves cannot work because you still lack the leverage tool.
Step 6: pick up the iron bar
Collect the tool left on the grass
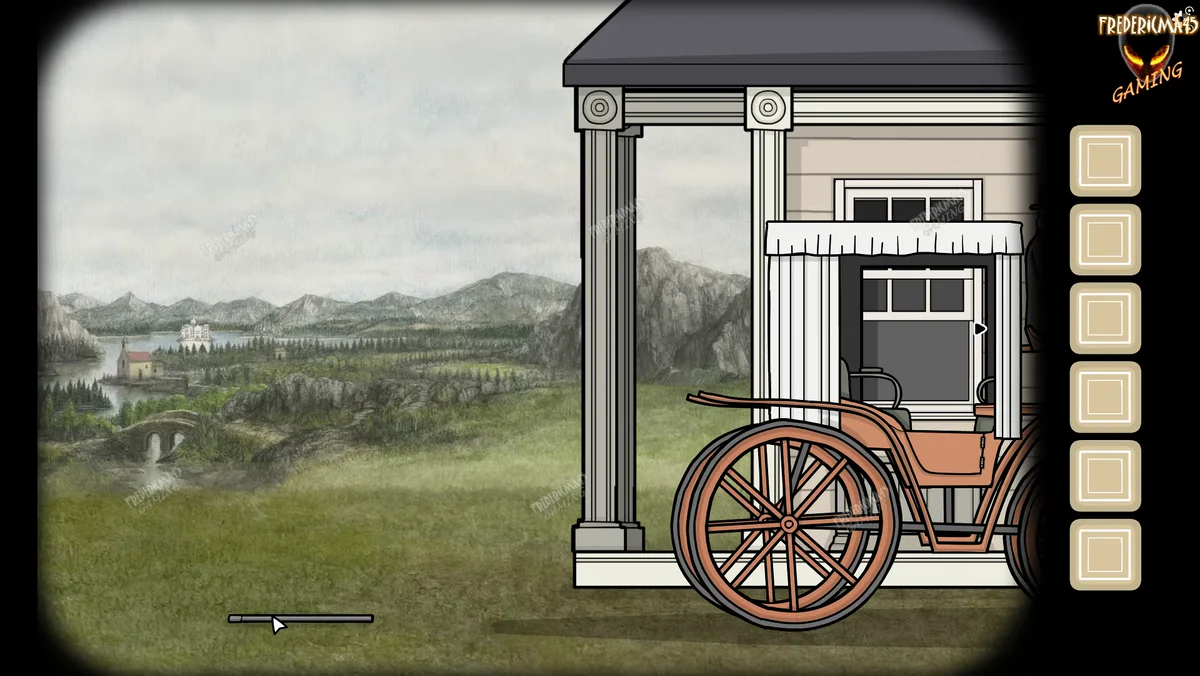
Click the long bar lying where the coach had been parked and confirm its icon appears in the inventory. This is an iron bar used for leverage, not a key and not an object to place directly in the door lock. Carry it back to the planter at the front of the house.
The bar is easy to miss against the grass because the scene becomes wide after the coach departs. If you see only the empty facade, pan or navigate back toward the former coach position. The recording shows the bar as a separate pickup before the player opens the planter close view.
Step 7: expose the hidden key
Use the bar under the loose floorboard
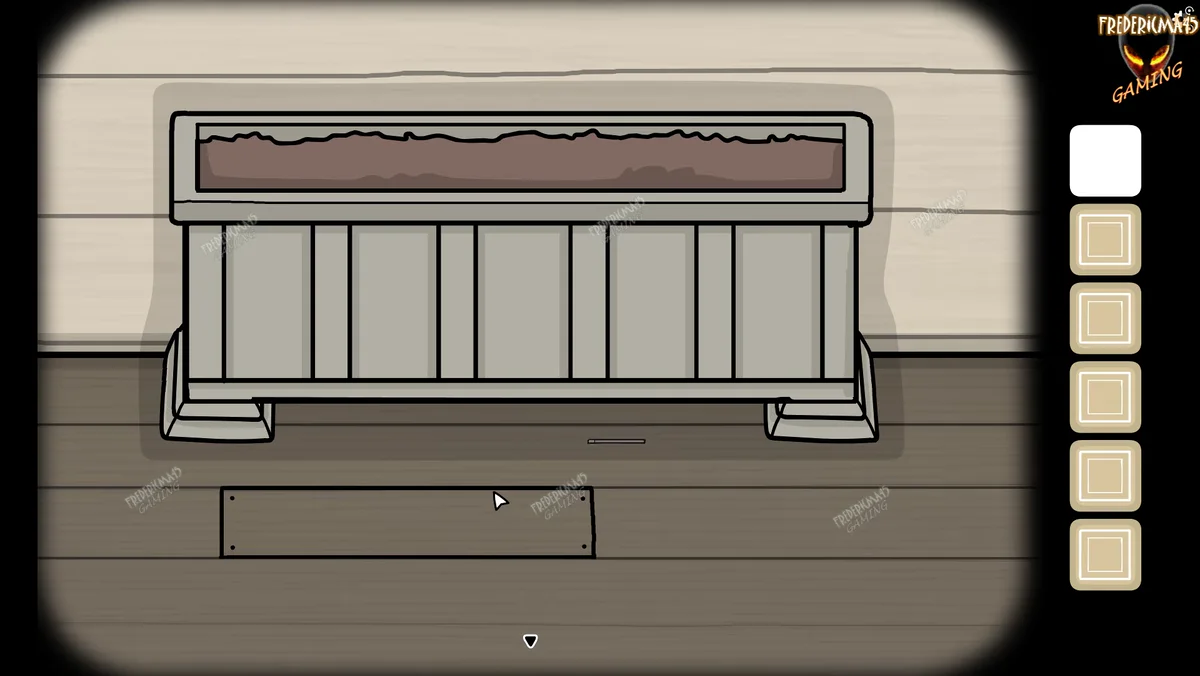
Zoom into the long planter and inspect the boards immediately below it. One rectangular board is loose and sits differently from the rest, so select the iron bar and place its end under that board. Complete the levering motion until the board slides up and exposes the narrow compartment.
Take the small key below the board
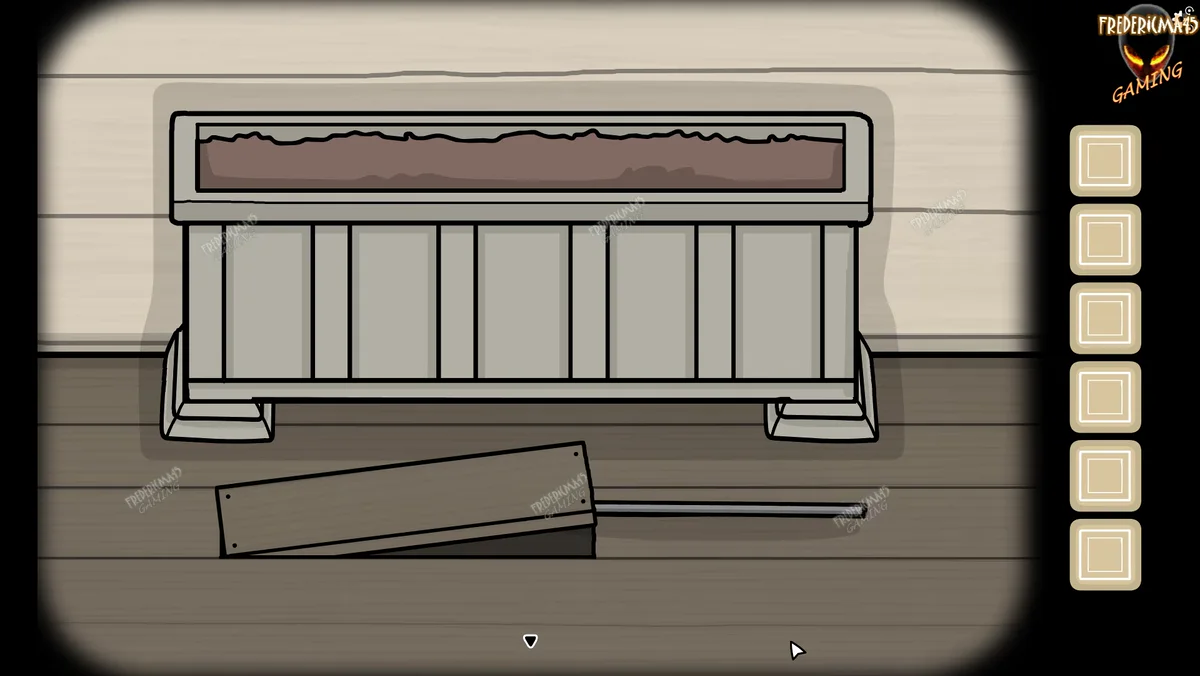
Click the small key revealed in the gap after the board moves. The key should replace the bar as your active entrance item, although the exact inventory behavior can vary by interface. If you see the open compartment but no key icon, inspect the center of the exposed gap and make sure the pickup animation finished.
Do not use the iron bar on the planter box itself or on the front door. The recorded target is the odd floorboard directly beneath the planter. A nonreactive board usually means the bar was not collected, the wrong board was selected, or the levering motion was not completed.
Step 8: turn the key in the door
Insert, turn, and open
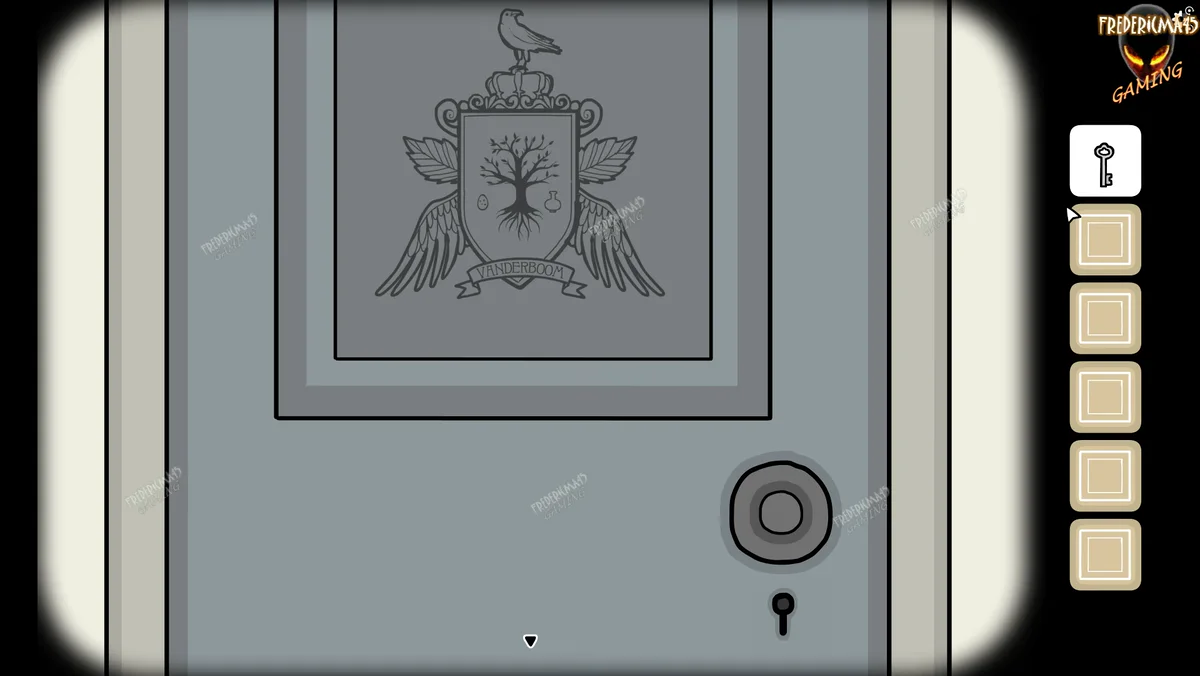
Return to the front door, zoom into the lock, and apply the small key directly to the keyhole. Turn the inserted key as the close-up indicates, then leave the lock view and open the door. Seeing the maid in the green entrance hall is the final success signal for this puzzle.
A general click on the door may only show the lock, while applying the key without turning it may leave the mechanism closed. Treat insertion, turning, and opening as three separate interactions. The key is for this entrance only; later locked containers use their own clues and items.
What to do immediately after entering
Speak to the maid and take the crow feather she presents. Open the employment contract at the nearby table, dip the feather into the inkwell, and sign on the blank line. When the signature is accepted, return to the maid and finish the conversation that starts the breakfast assignment.
If you can enter but most rooms remain unavailable, the outside puzzle is already solved. Sign the contract instead of searching for another entrance key. The next number you will eventually use is 235 for the portrait box, but it has no role in getting through the front door.
Entrance troubleshooting by visible state
If the coach is still present, confirm that both loose cups were placed in the display, the five cups are ordered by stripe count, the coin was picked up, and the coachman finished speaking. If the coach has left but the board will not move, collect the iron bar from the grass and target the loose board below the planter. If the board is open but the door is closed, collect the key from the gap, insert it into the keyhole, turn it, and then click the door.
The complete dependency is carrot → horse → window cup → coach cup → striped-cup display → coin → coachman → iron bar → loose board → key → lock → door. The carrot and horse occur in the verified recording before payment, while the cups and coin directly supply the fee. No external code, real-money purchase, or redemption key is required.
Sources checked
Verification notes
This page uses the supplied research and labels unresolved details To be confirmed. Store prices, versions, review totals, and availability can change.